
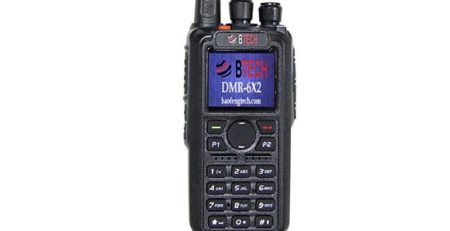
New firmware adds analog APRS to the DMR-6X2 handheld radio
BTECH recently released version 2.0 firmware for the DMR-6X2 handheld, and the most exciting new feature is analog APRS support. Previously, the DMR-6X2 could send APRS packets via DMR, but now it can also do analog APRS, making it more versatile than ever. Here’s how to set up analog APRS on your DMR-6X2.
 APRS Auto TX Intervals (s): This is the interval in seconds between APRS packet transmissions. When set to 180, the DMR-6X2 will transmit a pack every three minutes.
Destination Call Sign: This defines the type of device sending the package. APBT62 is the “to-call” for the DMR-6X2.
SSIDs. These numbers define typical ways that you might be using APRS. For example, “-9” designates that you’re a mobile station. See the APRS SSID Guide for more info.
APRS Symbol Table, APRS Map Icon: The combination of these two characters define the icon that appears on the aprs.fi maps (and, presumably, other sites). For more information on the icons available, see the APRS Symbol Look-Up Table. Since I walk around town frequently, I’ve set my icon to a walking man.
APRS Signal Path: This setting describes the signal path an APRS packet transmitted by your DMR-6X2 will take. A setting of “WIDE1-1WIDE2-1” is suggested for this setting. For more information on APRS signal paths, see APRS: SSIDs, Paths, and Beacons.
Transmission Frequency: 144.390 MHz is the most common APRS frequency in the U.S.
Transmit Delay (ms)m Prewave Time (ms): Set both of these to 600.
Transmit Power: Always set this to Turbo. Make sure that the transmit power in the channel setup is also set to Turbo. If set to another value, the DMR-6X2 will not send APRS packets.
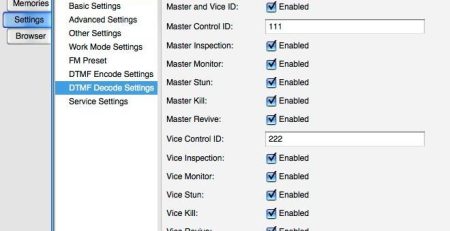
Once you’ve set this up, you have to set up an APRS channel. See the setup screen below to see how I have mine set up.

That should do it. To start sending APRS packets, select the APRS channel and press the push-to-talk switch. That will get the DMR-6X2 started sending out APRS packets at regular intervals. When it does send a packet, you’ll see the message, “Sending Ana Aprs Data” on the radio’s screen.


Comments (4)
I set mine up as per the examples. It appears to transmit incrementally, but I see no result on aprs.fi. What gives ?
I can get results with my other system from the same location and antenna.
Cool! Smooth new beginning, thanks!
this will be APRS exclusive application radio
totally self contained APRS -= just add antenna?
no additional components – hardware to try and integrate?
can this radio run off of 12Vdc Cigarette Lighter Socket in automobile?
Can you please explain why the APRS channel is necessary?