
 Orders ship from the USA, Orders of $25 or more qualify for FREE Shipping in the USA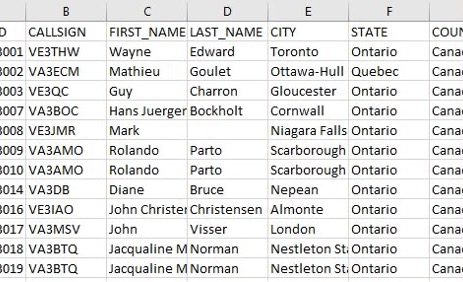
Import the DMR caller database into your BTECH radio
The short version
Turn numeric DMR IDs into useful caller details
A caller database can turn a received numeric DMR ID into a callsign, name, and location on screen. It does not create talkgroups or prove who is speaking.
Build or download a list that fits the radio, keep the source CSV, and import it with matching CPS. Spot-check the records. When you write, select only the Digital Contact List or database unless you also changed the codeplug.
Models covered
Match the database size to the radio
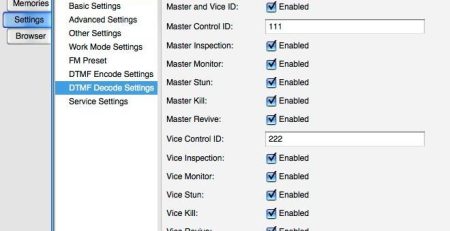
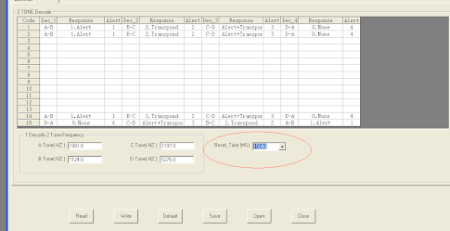
Use the BTECH model-aware contact builder where possible. The protected screenshots below show older DMR-6X2/PRO-era tools and remain as visual history; current labels, providers, columns, and import screens can differ.
Compare models and required versions
| Model | Verified procedure | Required version | Important difference |
|---|---|---|---|
| DMR-6X2 | Import and write the compatible lookup database | Current DMR-6X2 CPS | Maximum 200,000 records. |
| DMR-6X2 PRO | Import and write the compatible lookup database | Current PRO CPS | Maximum 500,000 records. |
| DA-7X2 | Tool → Import → Digital Contact List; write the database object | Current DA CPS | Maximum 500,000 records; export this database separately from the .rdt codeplug backup. |
Build, inspect, and import the list
-
Choose the exact model and capacity
Select DMR-6X2 for a 200,000-record list, or DMR-6X2 PRO/DA-7X2 for up to 500,000. Do not cut a full file at a random byte boundary.
-
Keep the source CSV unchanged
Save the download beside the dated codeplug backup. If you must transform columns, work on a copy and keep numeric IDs as numeric text without scientific notation.
-
Import with the matching CPS
Open the correct radio’s working file and use the Digital Contact List/database import tool. Large imports can take several minutes; wait for CPS to finish.
-
Spot-check the beginning, middle, and end
Check numeric ID, callsign, name, and location columns. Look for shifted columns, missing leading digits, broken accented characters, or a list that silently stopped early.
-
Save before writing
Save the working codeplug under a new dated filename even when only the separate database changed. That record helps you identify which database was paired with the codeplug.
-
Write only the caller database object
Choose the Digital Contact List/database object. Select Other Data or the full codeplug only when you intentionally changed those areas too. Keep power and USB stable until CPS reports completion.
-
Read back and receive a known ID
Confirm that the database is present, then receive a known DMR station and compare the displayed information with the source row. A matching display confirms the lookup is working, although the source record may still be stale.
Protected original workflow screenshots


Troubleshooting
| What happened | Likely reason | Next check |
|---|---|---|
| CPS rejects the CSV | Wrong model format, changed headers, unsupported encoding, or shifted columns | Download a fresh model-matched file and compare its headers before transforming anything. |
| Names and locations appear in the wrong fields | A spreadsheet reordered columns or parsed commas incorrectly | Return to the untouched CSV and use a tool that preserves standard UTF-8 comma-separated fields and quoting. |
| The import stops before the end | The list exceeds the radio’s capacity or contains invalid rows | Use the model-aware capacity and inspect the first rejected row instead of forcing a larger list. |
| Radio shows numbers after a successful write | The database object was not written, the list lacks that ID, or the record format is incompatible | Read back the database, test a known included ID, and verify the exact model selection. |
| Channels changed after updating names | The full codeplug/Other Data was written unintentionally | Restore the untouched codeplug backup, then repeat the database-only write with the matching CPS. |
Manuals, software, and related guides
Common questions
Is the caller database the same as Digital Contacts in my codeplug?
No. Codeplug contacts are call destinations used by channels and receive groups. The large caller database only adds display information for received numeric IDs.
Does a displayed name prove who is transmitting?
No. The database is convenience data and may be stale or user-supplied. Radio IDs and Talker Alias are not cryptographic identity proof.
How often should I update it?
Update when you need fresher display information, not every time you edit a channel. Keep the source/date so you know which list is installed.









Comments (4)
Any idea when the CPS will be changed to correct the header?
When will be for sale and where can I get one.
The DMR-6X2 and DMR-6X2 PRO are available for immediate purchase at: baofengtech.com/store
I purchased this as a home scanner for work purposes but for listening only. I do not want to use it to transmit. I set everything up and added the frequency channel into the software and wrote it to the radio and there is no transmissions. I am not picking up anything. Where can I get assistance to get this to work? I read the manual multiple times and watched you tube videos but the videos are using them at walkie talkies which is not what I want. (work radios have been updated to DMR Motorola Connect Plus TRBO)