
 Orders ship from the USA, Orders of $25 or more qualify for FREE Shipping in the USA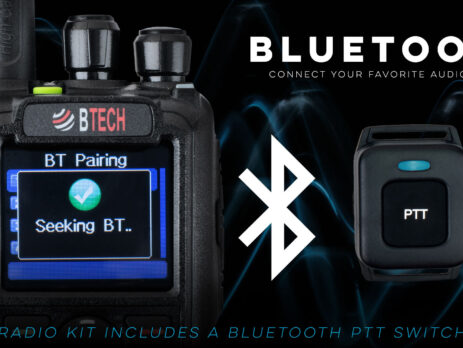
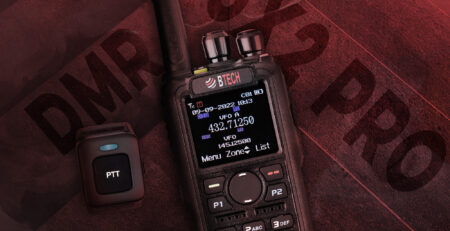
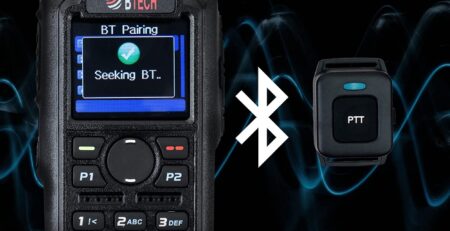
Pair Bluetooth audio and PTT on DMR-6X2 PRO and DA-7X2
The short version
Prove the audio link before you add wireless PTT
A Bluetooth headset carries audio; a separate wireless button keys PTT. Pair a supported audio device first. Then make one low-power PTT test while watching the channel shown on the radio.
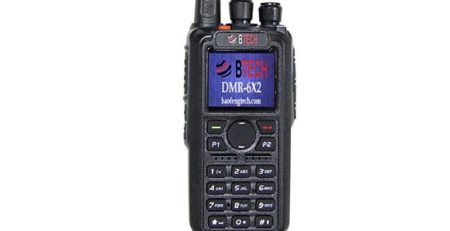
The base DMR-6X2 has no integrated Bluetooth, so it is not part of this guide. DMR-6X2 PRO and DA-7X2 use different menus and may behave differently with the same accessory. Follow the branch for your model.
Models covered
This workflow is for DMR-6X2 PRO and DA-7X2
Compatible HFP audio devices and BTECH wireless PTT accessories can work, but device, firmware, range, key behavior, and operating-position compatibility still matter.
Compare models and required versions
| Model | Verified procedure | Required version | Important difference |
|---|---|---|---|
| DMR-6X2 | Not supported | — | No integrated Bluetooth; use supported wired audio/PTT accessories instead. |
| DMR-6X2 PRO | Pair compatible Bluetooth audio and included/supported PTT | Current PRO firmware; installed Bluetooth hardware | Use PRO Bluetooth menus and verify audio routing/PTT separately. |
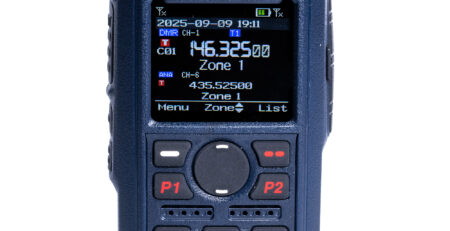
| DA-7X2 | Pair compatible Bluetooth audio and BTECH wireless PTT | Current DA firmware; Bluetooth enabled in CPS/options | Radio menu includes BT PTT Pair, PTT Name, and PTT Bat Volt; DA BT03 behavior is firmware-dependent. |
Pair audio first
-
Enable the installed Bluetooth feature
In matching CPS/options and the radio menu, confirm Bluetooth is available and on. If the menu is missing, verify the exact model/options rather than loading another radio’s codeplug.
-
Put the headset or speaker-mic in pairing mode
Follow the accessory’s instructions and keep it close to the radio. Avoid pairing several similarly named devices at once.
-
Select and connect the correct device
Confirm the device name and connection state. Receive a known local signal and verify audio goes where expected.
-
Test microphone routing without transmitting first
Check audio/PTT configuration and use any local monitor/test function available. When a transmit test is necessary, keep it short and coordinated.
Pair the wireless PTT and make one controlled test
-
Enter PTT pairing on the exact radio
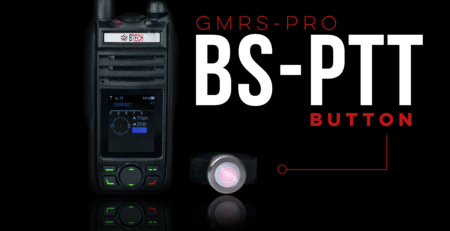
On DA-7X2 use the Bluetooth menu’s BT PTT Pair/Pair action; on PRO use its corresponding Bluetooth PTT workflow.
-
Put the PTT button in pairing mode
Press and hold its pairing control until the indicator flashes as documented. Keep it close to the radio.
-
Confirm device and battery information
Where available, check PTT Name and battery-voltage/status screens so you know the intended button paired.
-
Make one controlled transmit test
Watch the radio’s active channel and TX indicator. Hold the wireless PTT briefly, confirm the destination receives clear audio, then release and verify the radio stops transmitting immediately.
-
Secure it for transport
Mount the button where it cannot be pressed accidentally. Turn Bluetooth/PTT off or disconnect it when packing the radio in a way that could hold the button down.
Troubleshooting
| What happened | Likely reason | Next check |
|---|---|---|
| Audio device pairs but no receive audio | Wrong audio profile/routing or unsupported device behavior | Reconnect, verify HFP-compatible behavior, volume, and exact model firmware; test another known-compatible device. |
| PTT pairs but does not key | Paired as audio only, PTT battery low, or wrong PTT menu/device | Check PTT Name/battery where available and repeat the dedicated PTT pairing workflow. |
| Radio keys but microphone audio is wrong | Audio source remained on the radio or accessory profile is incompatible | Verify transmit-audio routing and test the exact accessory/firmware combination. |
| Connection drops in use | Range, obstruction, battery, interference, or firmware/device compatibility | Test at close range, charge devices, update exact model firmware, and keep a wired/PTT fallback. |
| Base DMR-6X2 has no Bluetooth menu | The model does not include integrated Bluetooth | Use supported wired audio/PTT; do not load PRO firmware or CPS. |






Leave a Reply