
 Orders ship from the USA, Orders of $25 or more qualify for FREE Shipping in the USA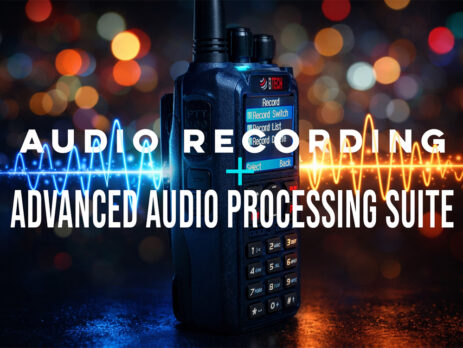
Record and review calls on BTECH DMR radios
The short version
Decide what belongs in a recording before you turn it on
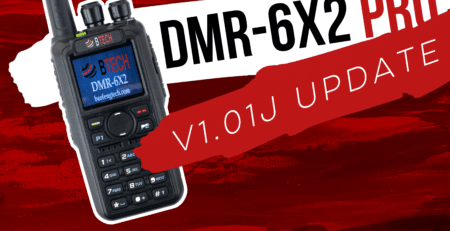
DMR-6X2 records DMR calls. DMR-6X2 PRO documents about 10 hours of standard DMR recording; optional hardware can change its mode or capacity. DA-7X2 documents roughly 14 hours of analog and DMR recording.
Those limits and modes do not transfer from one model to another. Check consent and privacy rules first. Then choose manual or automatic recording, check storage, and play back one short test.
Models covered
Recording support and capacity vary by model and hardware
Use current Device Info and the exact manual/CPS. Recording time and analog-recording support differ by model and installed recorder hardware.
Compare models and required versions
| Model | Verified procedure | Required version | Important difference |
|---|---|---|---|
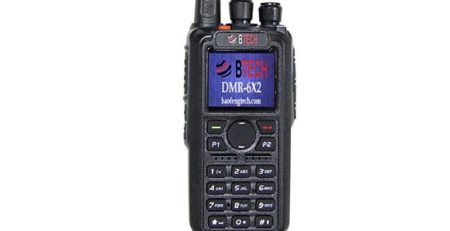
| DMR-6X2 | DMR call recording | Current model firmware | Exact storage/duration should be read from current model documentation. |
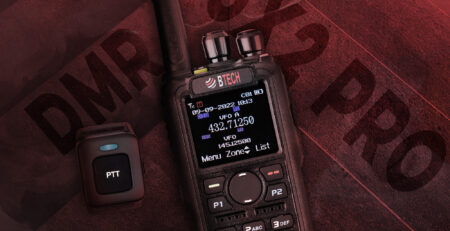
| DMR-6X2 PRO | Standard DMR recording; optional recorder can add scope/capacity | Current PRO firmware; installed hardware | Manual documents about 10 hours standard DMR-only; optional 500-hour hardware can support analog + DMR. |
| DA-7X2 | Analog and DMR recording with playback/export workflow | Current DA firmware/CPS | About 14 hours; exact file handling and export are DA-specific. |
Make one controlled recording
-
Confirm the installed recording capability
Open Device Info and the exact manual. Identify standard versus optional recorder hardware and whether analog, DMR, or both are supported.
-
Choose manual or automatic behavior
Use manual recording for a deliberate test. Enable automatic call recording only when every expected call should be stored and the privacy/retention plan supports it.
-
Use an authorized test channel
Coordinate a short test with a participant who knows it is being recorded. Use low power and a clear channel.
-
Record one complete call
Start the recording or receive the call under automatic mode. Note the time, channel, caller ID, and whether the radio records receive, transmit, or both as documented.
-
Play it back on the radio
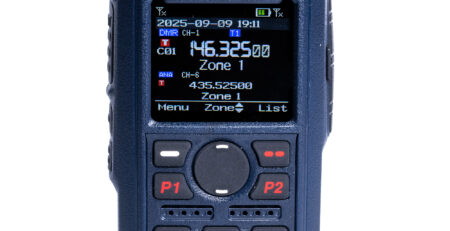
Open Record List, select the file, and confirm intelligibility plus the expected timestamp/ID details. A file entry alone is not proof that useful audio was captured.
-
Export only when needed
Use the model’s current CPS/export workflow where supported. Store the file securely, label its context, and delete it according to the intended retention policy.
Troubleshooting
| What happened | Likely reason | Next check |
|---|---|---|
| Record list is empty | Recording disabled, unsupported mode/hardware, or no complete call captured | Verify the exact model’s capability and make one consented test in a supported mode. |
| File exists but audio is silent | Wrong record direction/mode, muted path, or unsupported analog/DMR scope | Test playback volume and a known supported receive call; compare the installed recorder hardware. |
| Timestamp is wrong | Radio date/time/time-zone incorrect | Set time before relying on filenames or call chronology. |
| Storage fills quickly | Automatic recording or long retention is active | Export only what must be kept, delete safely, and narrow recording behavior. |
| CPS cannot export recordings | Feature/driver/CPS/model workflow differs | Use the exact current package and model manual; do not substitute another radio’s utility. |







Leave a Reply